
Cheep*Cheep*Cheep!
{That's "chick" for "I made it through a LONG week and I'm celebrating!"}

In fact, LOT'S of gals are celebrating - It's EASTER weekend and my lovely friends from
JUST US GIRLS have a three dimensional CHALLENGE to get your mind off your peeps
for a while... Break out your IMAGINATION, back AWAY from the chocolate... and get
ready to cut, score and FIRE up your glue gun - it's ONNNNNNNNNNNNN!
JUST US GIRLS have a three dimensional CHALLENGE to get your mind off your peeps
for a while... Break out your IMAGINATION, back AWAY from the chocolate... and get
ready to cut, score and FIRE up your glue gun - it's ONNNNNNNNNNNNN!

There's lots of room to run, this week - ANY template with a SPRING theme will do!
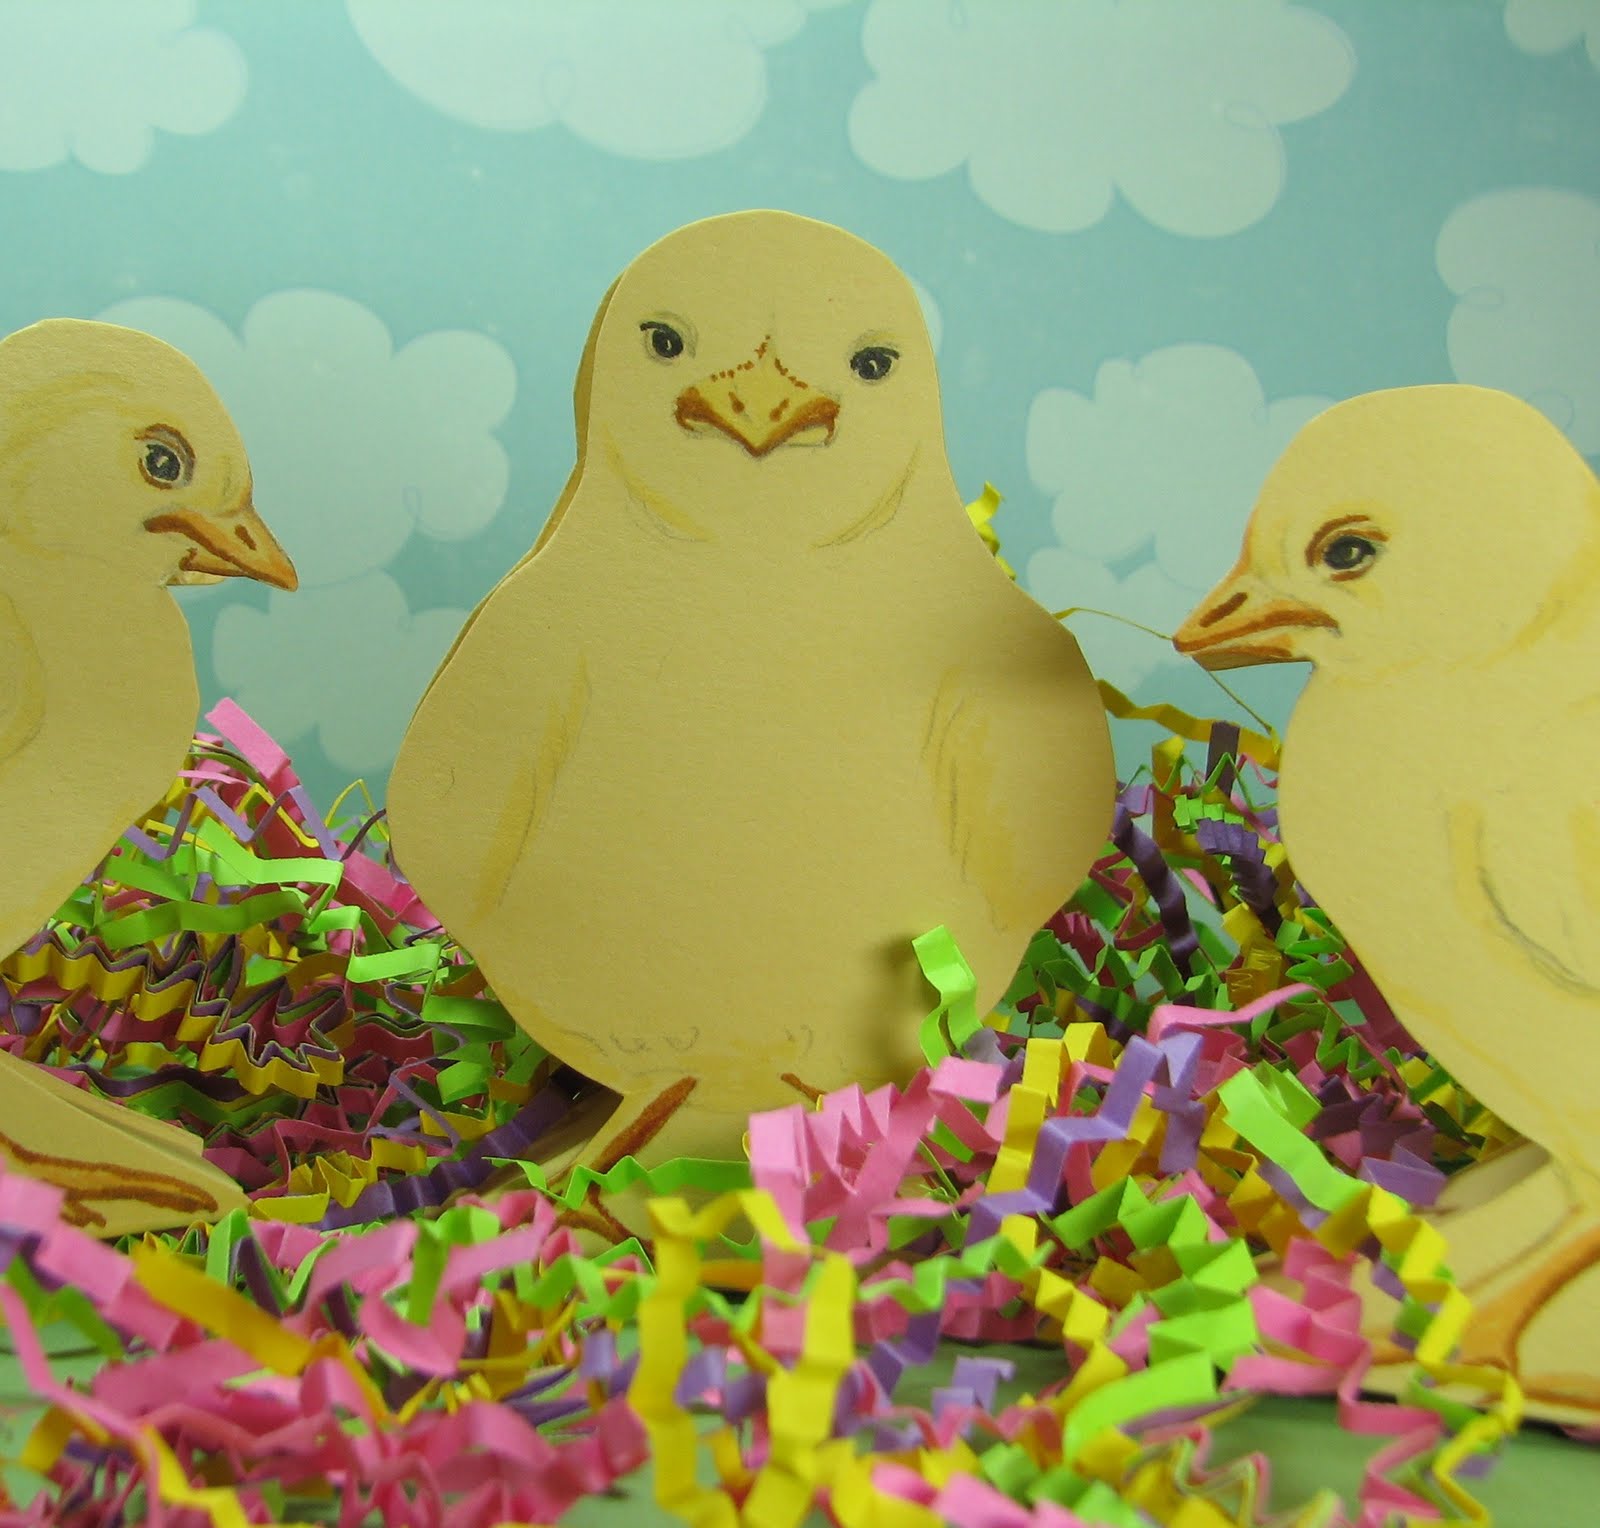
So, I decided to hop down my own springy trail! Custom made PEEPS - sugar free!

More on their creation, to follow. First, join with me in bounding around to my fellow
Jug-heads creative sites to see what they've loaded into their Easter baskets....
{... and do I MEAN "loaded!"}
And, don't forget our SUPER guest designer, for April, Teresa Kline!!!
This might be fun enough for you to forget the {occasional} pressures of the
early holiday season... Easter/Mother's Day/Father's Day... Who cares if
the napkin rings match the table cloth - let's MAKE stuff!
Got custom PAPER CRAFTY centerpiece?

Here's a "take with much salt and creative interpretation" approach to my technique...
 Draw chicks on computer paper, cut silhouette, leaving a semi-solid base.
Trace onto colored card stock of choice, along a 1 - 1/5" scored strip,
midway through an 8.5 x 11" piece of paper....

For MY Easter centerpiece, I wanted three different chicks.
Three easily fit along this piece. Trace mirror images across the
scored section and then cut to silhouette and remove from section.

One chick was flipped to give me three separate chicks from two simple drawings

From the same colored piece of card stock, but 12 x12", cut 1 - 1/5" strip, and score on both
sides at the 1/4 inch mark. Bend the strip to find middle and then begin making notches to
either side of the strip. Bend to fit silhouette, shaping and scoring,
as if molding the paper to shape.

Add more notches and cross score marks, as needed to fit shape.

Embellish "chick" shape as desired, BEFORE gluing center strip...

Prepare to HOT GLUE your center strip, starting with one side, from bottom
and then around the perimeter, leaving a small allowance from the strip to the edge
of shape. Glue a few sections at a time, until the entire strip is secure. Glue the front piece
to the strip and secure the base so that the chick with stand on it's own.

Embellish with jelly beans, Easter grass or if you live in my world
EASTER NERD ROPES! {!!! I know! WHAT? !!!}

Anyway, darlingest friends in all of blogdom... I hope you have a MOST glorious Easter
whereEVER your hang your basket, and HOWEVER you like your sweets! I adore
marking the passing of the glorious seasons with you all! Have a most blessed day!
This might be fun enough for you to forget the {occasional} pressures of the
early holiday season... Easter/Mother's Day/Father's Day... Who cares if
the napkin rings match the table cloth - let's MAKE stuff!
Got custom PAPER CRAFTY centerpiece?

Here's a "take with much salt and creative interpretation" approach to my technique...
 Draw chicks on computer paper, cut silhouette, leaving a semi-solid base.
Trace onto colored card stock of choice, along a 1 - 1/5" scored strip,
midway through an 8.5 x 11" piece of paper....

For MY Easter centerpiece, I wanted three different chicks.
Three easily fit along this piece. Trace mirror images across the
scored section and then cut to silhouette and remove from section.

One chick was flipped to give me three separate chicks from two simple drawings

From the same colored piece of card stock, but 12 x12", cut 1 - 1/5" strip, and score on both
sides at the 1/4 inch mark. Bend the strip to find middle and then begin making notches to
either side of the strip. Bend to fit silhouette, shaping and scoring,
as if molding the paper to shape.

Add more notches and cross score marks, as needed to fit shape.

Embellish "chick" shape as desired, BEFORE gluing center strip...

Prepare to HOT GLUE your center strip, starting with one side, from bottom
and then around the perimeter, leaving a small allowance from the strip to the edge
of shape. Glue a few sections at a time, until the entire strip is secure. Glue the front piece
to the strip and secure the base so that the chick with stand on it's own.

Embellish with jelly beans, Easter grass or if you live in my world
EASTER NERD ROPES! {!!! I know! WHAT? !!!}
Anyway, darlingest friends in all of blogdom... I hope you have a MOST glorious Easter
whereEVER your hang your basket, and HOWEVER you like your sweets! I adore
marking the passing of the glorious seasons with you all! Have a most blessed day!
Supplies -
C/S - Stampin' Up!
Pens - Stampin' Up!
Hot Glue Gun
{Sugar! Lot's and lots of SUGAR!}
C/S - Stampin' Up!
Pens - Stampin' Up!
Hot Glue Gun
{Sugar! Lot's and lots of SUGAR!}
